Solar charge controllers are a key component in any solar power system, ensuring the efficient and safe charging of batteries. This guide explores how solar charge controllers work, their types, benefits, and how to choose the right model for your needs. Whether you are a homeowner setting up an off grid cabin or a DIY enthusiast building a solar powered camper, understanding these devices is essential for maximizing the performance and lifespan of your solar power setup.
- What is a Solar Charge Controller?
- How Solar Charge Controllers Work
- Types of Solar Charge Controllers
- Why a Quality Charge Controller Matters
- Key Features to Look For in Solar Charge Controllers
- How to Select the Right Solar Charge Controller
- Installation Best Practices
- Frequently Asked Questions
- Conclusion
Everything You Need to Know About Solar Charge Controllers
What is a Solar Charge Controller?
A solar charge controller is an electronic device placed between your solar panels and your battery bank. Its key function is to regulate the voltage and current coming from the solar panels in order to prevent batteries from overcharging or discharging excessively. Overcharging shortens battery lifespan and can be hazardous, while deep discharge can damage batteries and reduce their capacity over time. The charge controller regulates the energy flow and ensures batteries receive only what they need, maintaining safety and efficiency in your solar power system.
How Solar Charge Controllers Work
At a basic level, a solar charge controller acts as a gatekeeper. When the battery bank is low, the controller allows the full current from the solar array to flow to the batteries. As the batteries reach full charge, the controller reduces or cuts off the charging current to prevent overcharging. Advanced models use algorithms and sensors to monitor battery voltage, temperature, and charging stages. These charging stages usually include:
- Bulk Charging: High current charges batteries until they reach a set voltage.
- Absorption Charging: The current tapers off as the battery is nearly full, helping bring all cells to peak charge without overheating.
- Float Charging: A low voltage keeps batteries topped up without excess charging.
Some smart controllers also feature equalization cycles, which occasionally boost charging voltage to balance out battery cells and prevent sulfation.
Types of Solar Charge Controllers
There are two main types of solar charge controllers used today: PWM (Pulse Width Modulation) and MPPT (Maximum Power Point Tracking). Understanding the difference between them is crucial for optimizing your system.
PWM Charge Controllers
PWM controllers are older, simpler technology. They regulate charging by rapidly switching the solar current on and off, maintaining battery voltage at a safe level. Though reliable and affordable, PWM controllers are best for smaller systems where the panel and battery voltages are closely matched. They are less efficient than MPPT counterparts, especially when solar panel voltage is significantly higher than the battery bank voltage.
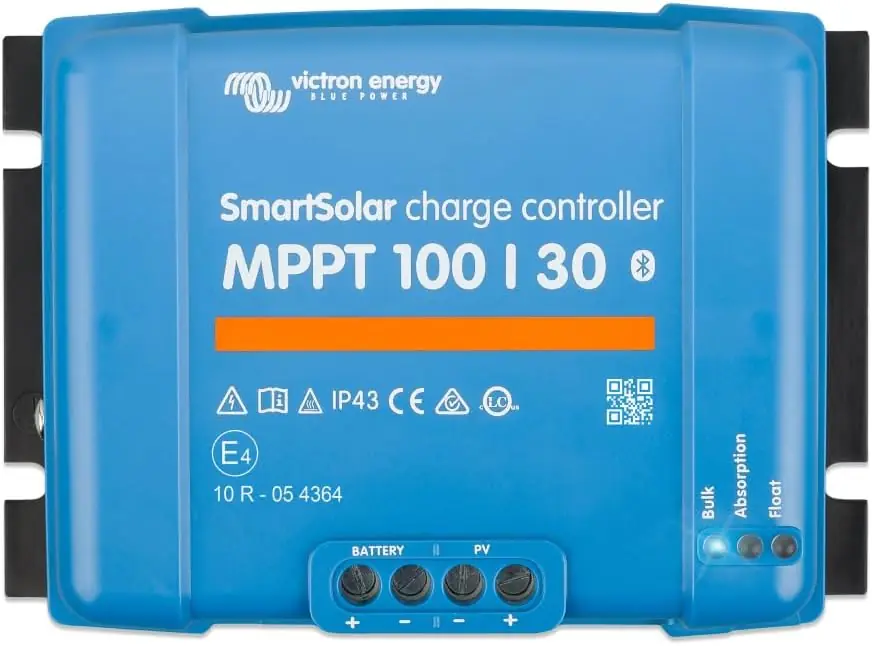
MPPT Charge Controllers
MPPT controllers are more advanced. They constantly track the optimum power point of the solar panels, converting excess voltage into additional current for the batteries. This innovation boosts efficiency, especially in cold weather or whenever the panel voltage exceeds battery voltage. MPPT controllers can increase charging efficiency by up to 30 percent compared to PWM models. While they are pricier, their higher output and adaptability to a wider range of solar arrays make them ideal for larger installations.
Why a Quality Charge Controller Matters
Choosing a well designed, reliable solar charge controller is vital for the health of your battery bank and the efficiency of your whole solar setup. Poor quality or mismatched controllers can lead to:
- Overcharging: Excess voltage can overheat batteries, shorten their lifespan, or cause dangerous leaks.
- Deep Discharge: Without low voltage protection, batteries can be damaged by being drained too far.
- Inefficiency: You may lose potential power generation or see batteries charging slowly if the controller cannot adapt to varying sunlight or temperatures.
- System Instability: Inconsistent regulation can trigger inverter errors or damage sensitive electronics downstream.
A quality controller includes advanced features for monitoring and protection, robust components, and compatibility with both your solar array and battery bank.
Key Features to Look For in Solar Charge Controllers
When shopping for a solar charge controller, look beyond the price tag. The right features will improve long term safety, performance, and convenience. Important factors include:
- Amperage Rating: Ensure the controller can handle the maximum current from your solar system plus a safety margin (usually 25 percent over the peak input amps).
- System Voltage Compatibility: Pick a controller that matches your battery voltage (12V, 24V, 48V, or higher) and maximum solar panel voltage.
- Display & Monitoring: LCD screens, Bluetooth connectivity, or remote monitors allow you to see system performance in real time. Data logging helps with troubleshooting.
- Battery Type Support: Some controllers allow settings for different battery chemistries such as Lithium Iron Phosphate, Flooded Lead Acid, AGM, Gel, or Lithium Ion. Choose one compatible with your batteries.
- Temperature Sensing: Integrated sensors or external temperature probes prevent overheating and optimize charging across different climates.
- Load Control: Some models feature load terminals to automatically disconnect loads at low voltage and reconnect when charging resumes.
- Protections: Look for models with short circuit, overcurrent, thermal, and reverse polarity protection.
How to Select the Right Solar Charge Controller
Matching the correct solar charge controller to your system can seem intimidating, but following a step by step process simplifies it:
- Calculate Your System’s Maximum Current: Divide your solar array’s wattage by your battery bank voltage and add a safety margin. For example, for a 500W system charging a 12V battery: 500 ÷ 12 = 41.7A. Add 25 percent: 41.7 x 1.25 = 52A, so choose at least a 60A controller.
- Match System Voltages: Ensure the controller supports both your panel and battery voltages.
- Choose PWM or MPPT: For larger or mixed voltage systems, MPPT is usually preferred. For small, budget builds with matching panel and battery voltages, PWM offers a cost effective solution.
- Check for Expandability: If you plan to upgrade your system, select a controller that can handle potential growth in solar array output.
- Look for Usability: Easy to use interfaces, clear manuals, and good online reviews can all indicate a trustworthy product.
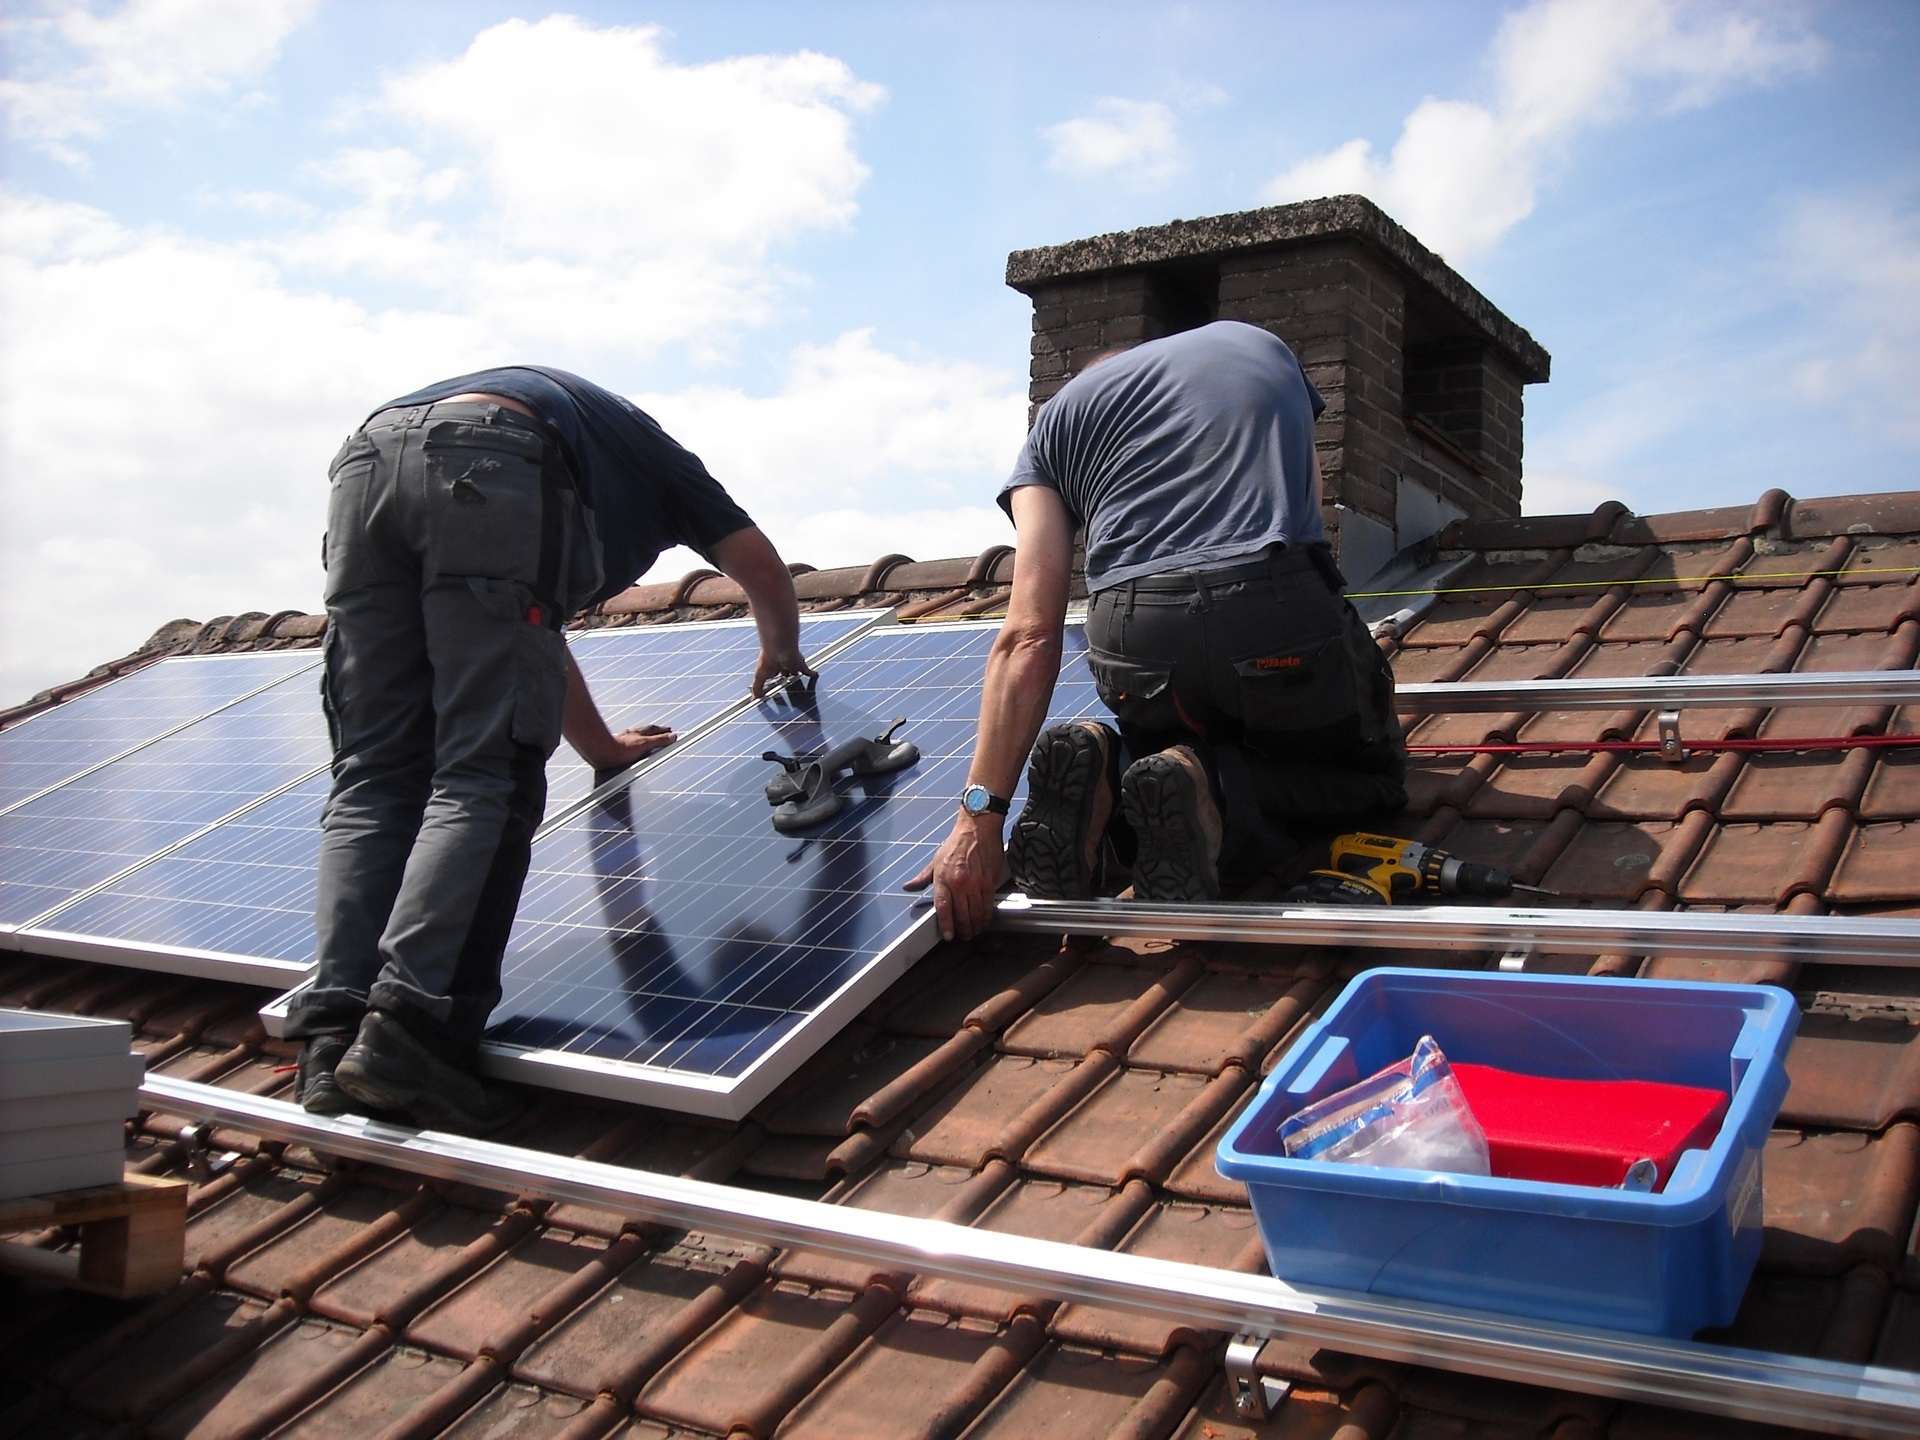
Installation Best Practices
Safely installing a solar charge controller is just as crucial as selecting the right model. Following the correct installation process helps prevent system faults and maximizes your solar investment. Here are some practical best practices:
- Install in a Dry, Cool, and Ventilated Space: Controllers should be mounted indoors, away from rain and direct sunlight, to avoid overheating.
- Use Proper Wire Gauges: Select wires sized according to current flow to minimize power loss and fire risk.
- Always Connect Batteries First: Connect the controller to the battery bank before attaching the solar panels to prevent voltage spikes.
- Secure Fuses and Breakers: Add protective fuses or circuit breakers between components to reduce fire hazards and equipment failure.
- Follow Manufacturer’s Wiring Diagram: Improper connections can damage the controller or other components.
- Double check All Connections: Make sure all terminal screws are tight, wires are properly stripped, and connections match the polarity indicated on both the charge controller and battery bank. Reverse connections can damage system components.
- Update Settings Before Use: Once the hardware is installed, review and configure settings based on your specific battery chemistry, voltage, and charging preferences. Many modern controllers allow adjustment via panels, apps, or computer interfaces.
- Test the System: Before putting the system into regular use, run initial tests. Monitor battery voltage, controller status lights or panels, and ensure no warning or error signals are present.
Proper installation not only extends component life but also prevents downtime and maximizes energy harvest from your solar panels.
Frequently Asked Questions
Do I always need a solar charge controller?
Most solar power systems that use rechargeable batteries require a solar charge controller. The exceptions may be extremely small trickle charging setups where the solar panel’s output is much lower than the battery’s safe charging limit. However, including a controller is always safer and recommended for consistent, long term battery health.
Can I use an MPPT controller with any battery type?
Most MPPT controllers are compatible with common battery types, including Lithium Iron Phosphate, Flooded Lead Acid, AGM, Gel, or Lithium Ion. Always check the manufacturer’s specification to ensure your battery chemistry is supported and properly configured before use.
How do I know if my charge controller is working properly?
Signs of a functioning charge controller include the display of relevant charging data, correctly regulated battery voltage, charging/status LED indicators, and a warm but not hot device during operation. If the controller frequently displays error codes, disconnects, or your batteries never seem fully charged, troubleshooting may be needed.
What causes charge controller failure?
Common causes include overloading the controller with more current than it is rated for, improper installation such as reversed polarity, exposure to water or extreme heat, and manufacturing defects. Choosing a robust controller with adequate protections and following all installation guidelines reduces the risk of failure.
Can a solar charge controller regulate loads?
Certain solar charge controllers include load output terminals, allowing them to directly regulate power to DC devices. This feature helps protect against battery over discharge by automatically disconnecting loads if the voltage gets too low. For larger systems, or those with AC loads, use a separate inverter or load controller as appropriate.
Conclusion
Solar charge controllers are the backbone of any efficient and safe solar energy storage system. They protect your batteries, improve charging efficiency, and add valuable monitoring capabilities to your renewable setup. Choosing the right type, (PWM or MPPT) requires an understanding of your panel configuration, battery type, and future upgrade plans. Careful attention to system sizing, key features, and proper installation will keep your solar array producing clean energy reliably for years to come.
With solar technology becoming more accessible and affordable, taking the time to research, select, and install the right solar charge controller is a critical step in achieving energy independence and maximizing your investment in sustainable power.